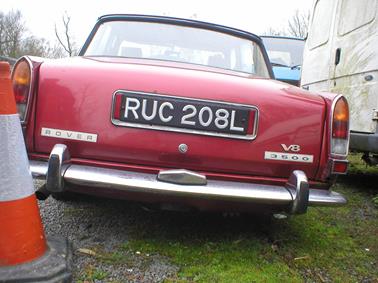
When you look at the back, you just know there is something wrong when a Rover P6 leans this much to one side. And if you haven’t already guessed, yes the De-
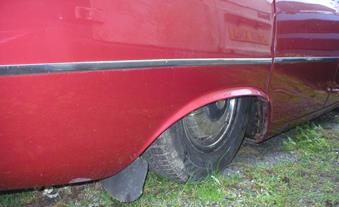
The suspension elbow collapsed just as the car was being driven into the drive, so not far to tow to get it off road to a place where we could fit a replacement elbow. Incidentally if you are wondering about the colour on this 1973 car, its been repainted in Rover Nightfire Red metallic, a colour which is not normally associated with a Rover P6 but having been up close it suits the car and is quite appealing and more over is, in keeping with the tradition of a Rover P6. In fact it must has dazzled us because we took loads of pictures and that orange & white giant traffic cone is in all of them, but we don’t recall seeing it on the day at all. However it does emphasis that the picture is taken on the level, and its the car that is far from level. But from the side, you would say, are my springs a bit too soft or am I driving a low rider?
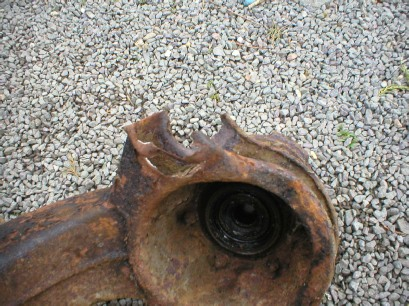
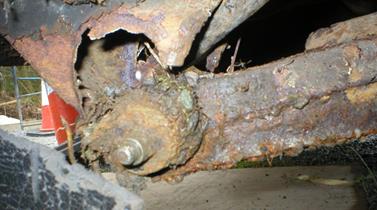
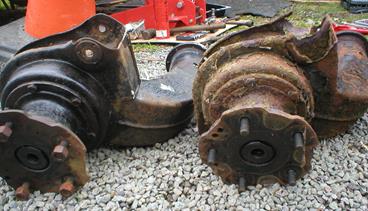
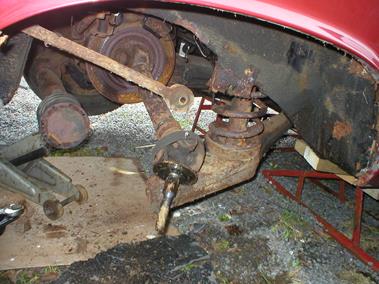
Now this situation calls for a big trolley jack and very careful positioning because you don’t want to clambering around underneath the car if it isn’t safely raised in the air, so we make sure we get the car well up in the air and put our sturdy ramps under neath the suspension cross member with a good sized block of solid wood in between. This way there is no way the car is going to descend until you want it too, also once supported on the ramps, the jack is now available to use later. Once we had the car in the air, we struggled to start with getting the wheel off. This was because unlike previous replacements we had done, this one had snapped and the elbow had rolled forward onto the bottom link arm. Previous ones we have done were after the elbow had rolled backward. Anyway what you see to the right is the failed point with everything roughly back in position after the wheel was removed. To the left are the old and new elbows for comparison, a fair bit now missing on the old one. Once all the car is supported properly and securely, it is a fairly simple process of un bolting the top and bottom link arm bolts and the bolts around the De-
SOMETHING TO ADD TO YOUR REGULAR INSPECTIONS
As a P6 owner/driver you should really make time at least once a year to remove the paint off the bottom joint on your de dion elbows and check around where the bolt goes through the bottom link arm bush for signs of cracks and metal fatigue. Once happy, there is nothing untoward, a drop of fresh paint around the elbow will see it good for another year. But please don't be tempted to powder coat them otherwise you will only find out that you a problem like this car, a few milli-
The picture to the right here shows how the elbow can crack and fracture around the bush fixing. This particular one was discovered as we were swapping the bushes from metallastic to polyurethane on a car which was considered to be show quality, so you never know. With this one the holes were all welded up before reassembly.
MGBD ‘ON-


WATCH THE ELBOWS!
MGBD Services in exceptional circumstances will repair a Rover P6 on-
